2415 East Mulberry Street, Unit 7 Fort Collins, CO 80524 Toll Free: (800) 466-7015 Phone: (970) 482-7116 Fax: (970) 498-9529 www.certifiedortho.com
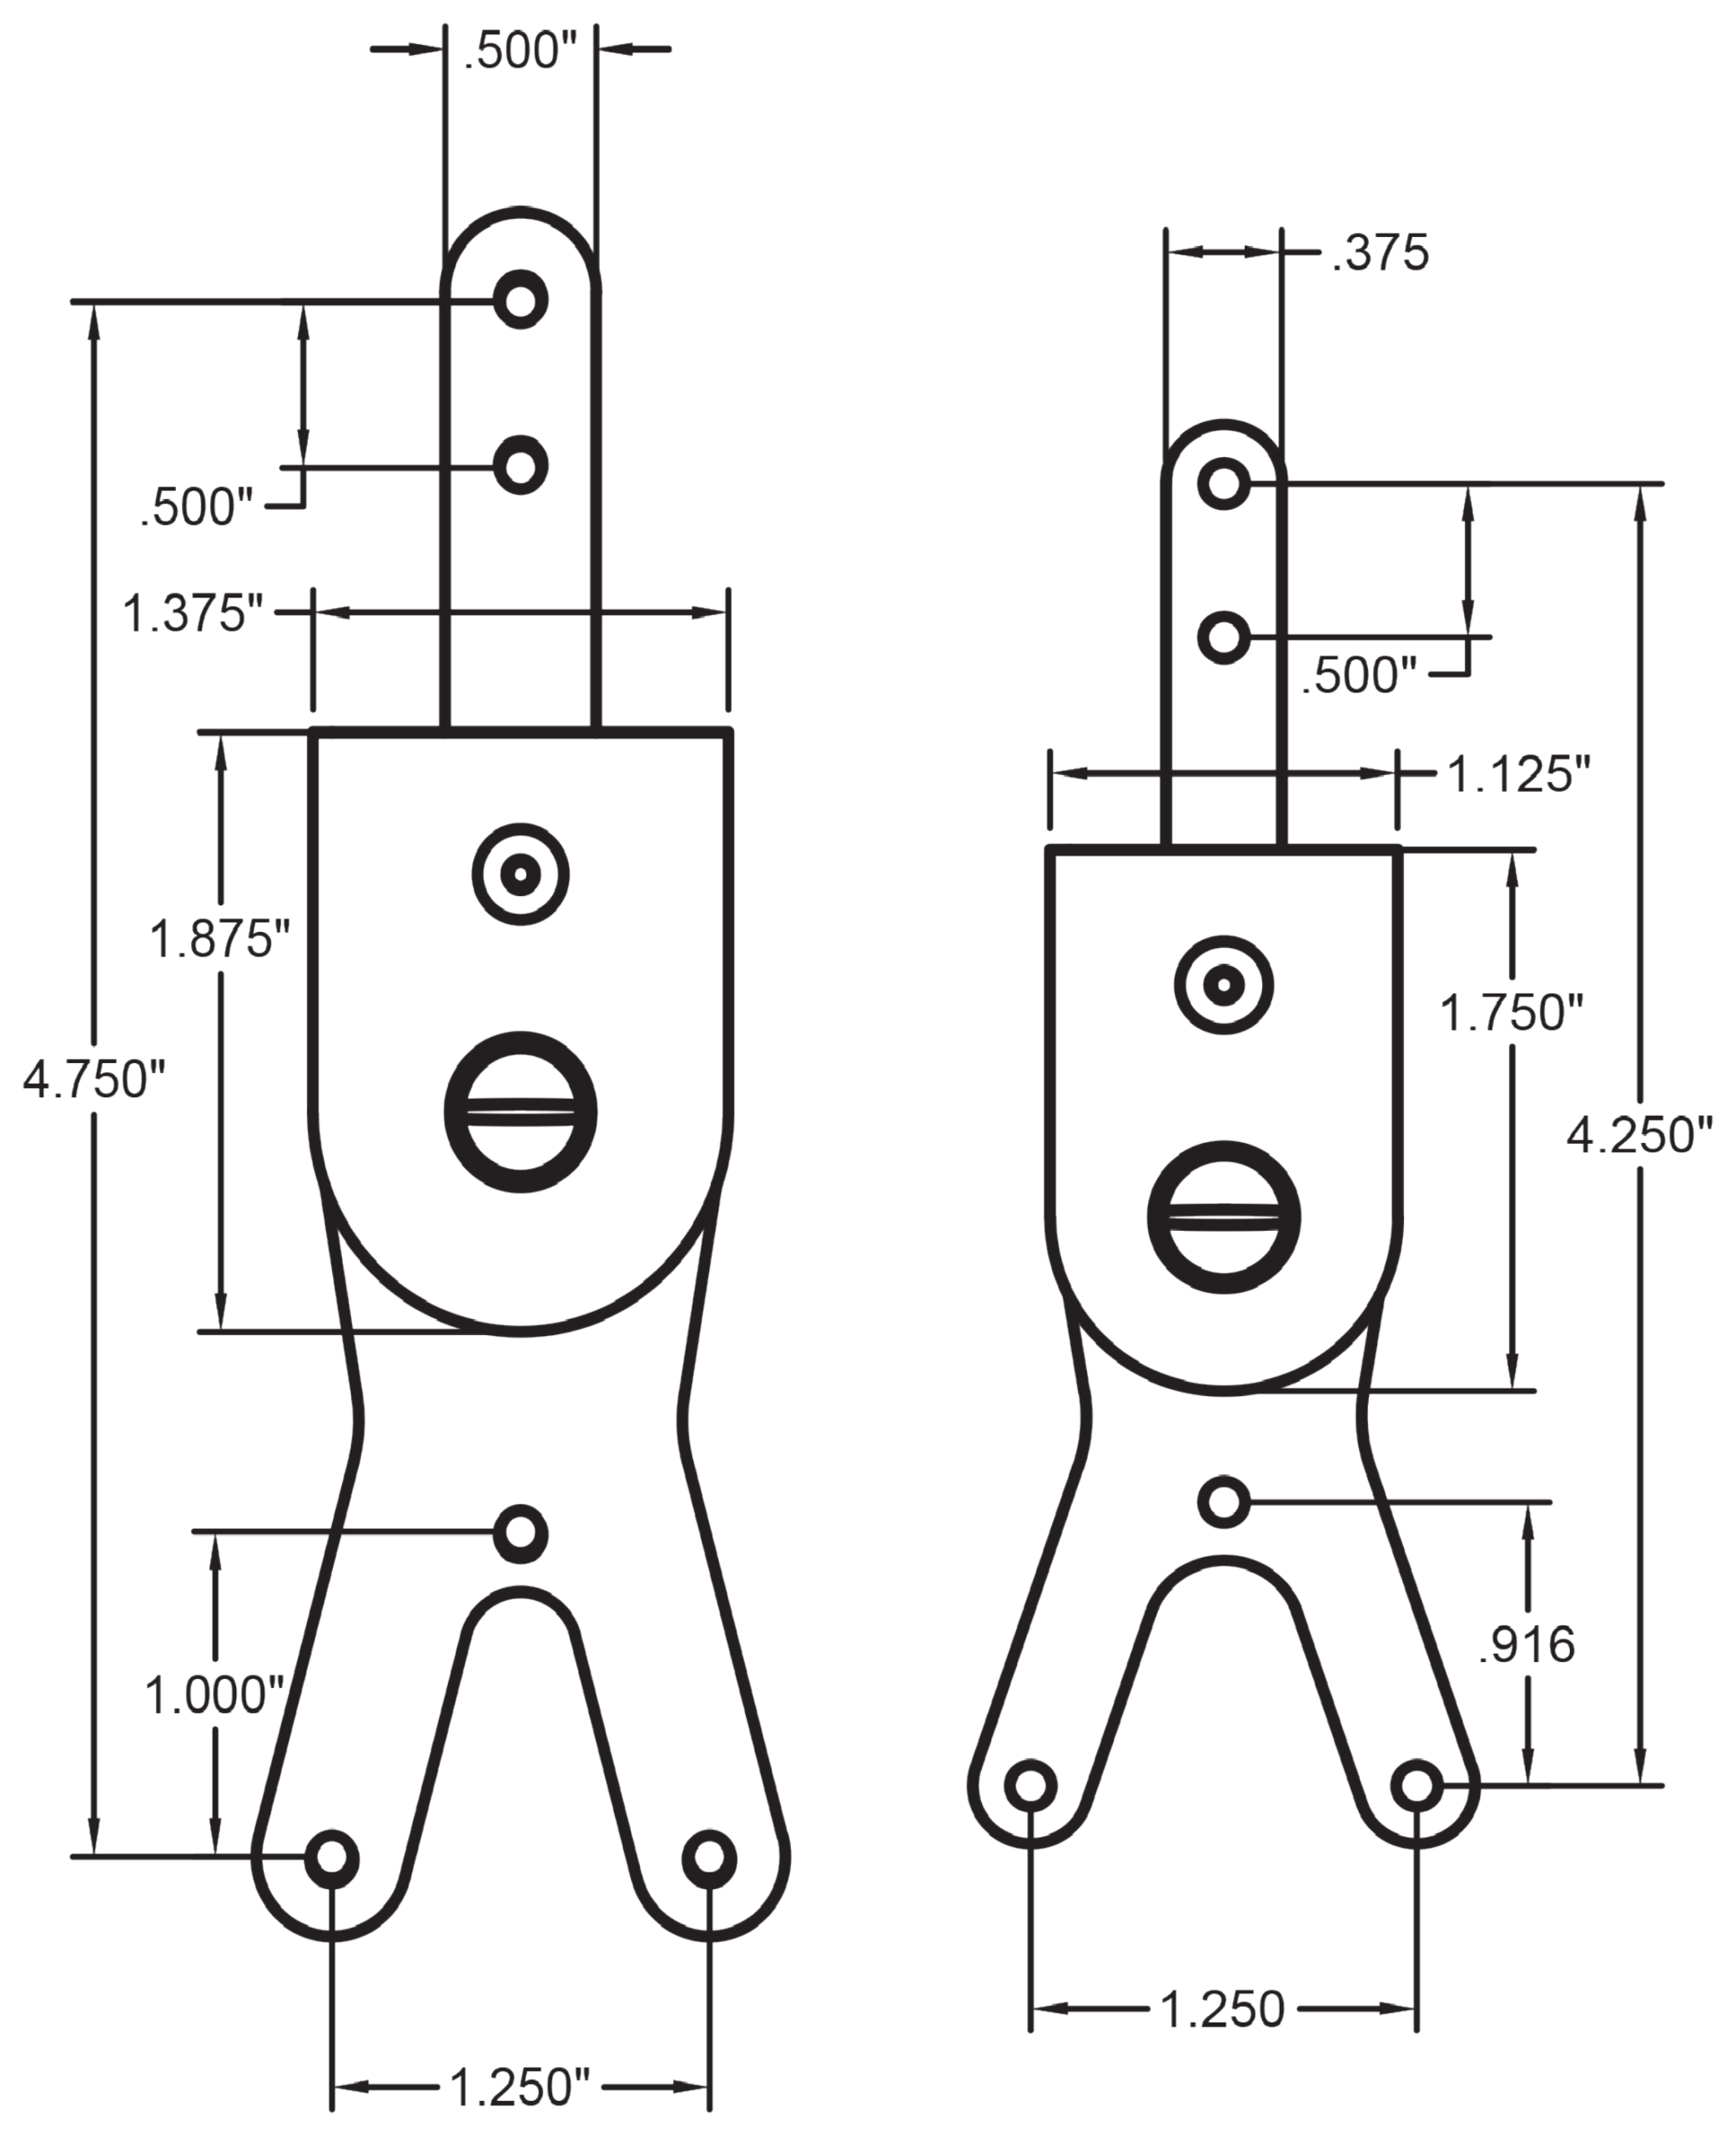
Vertex Double Action Dimensions
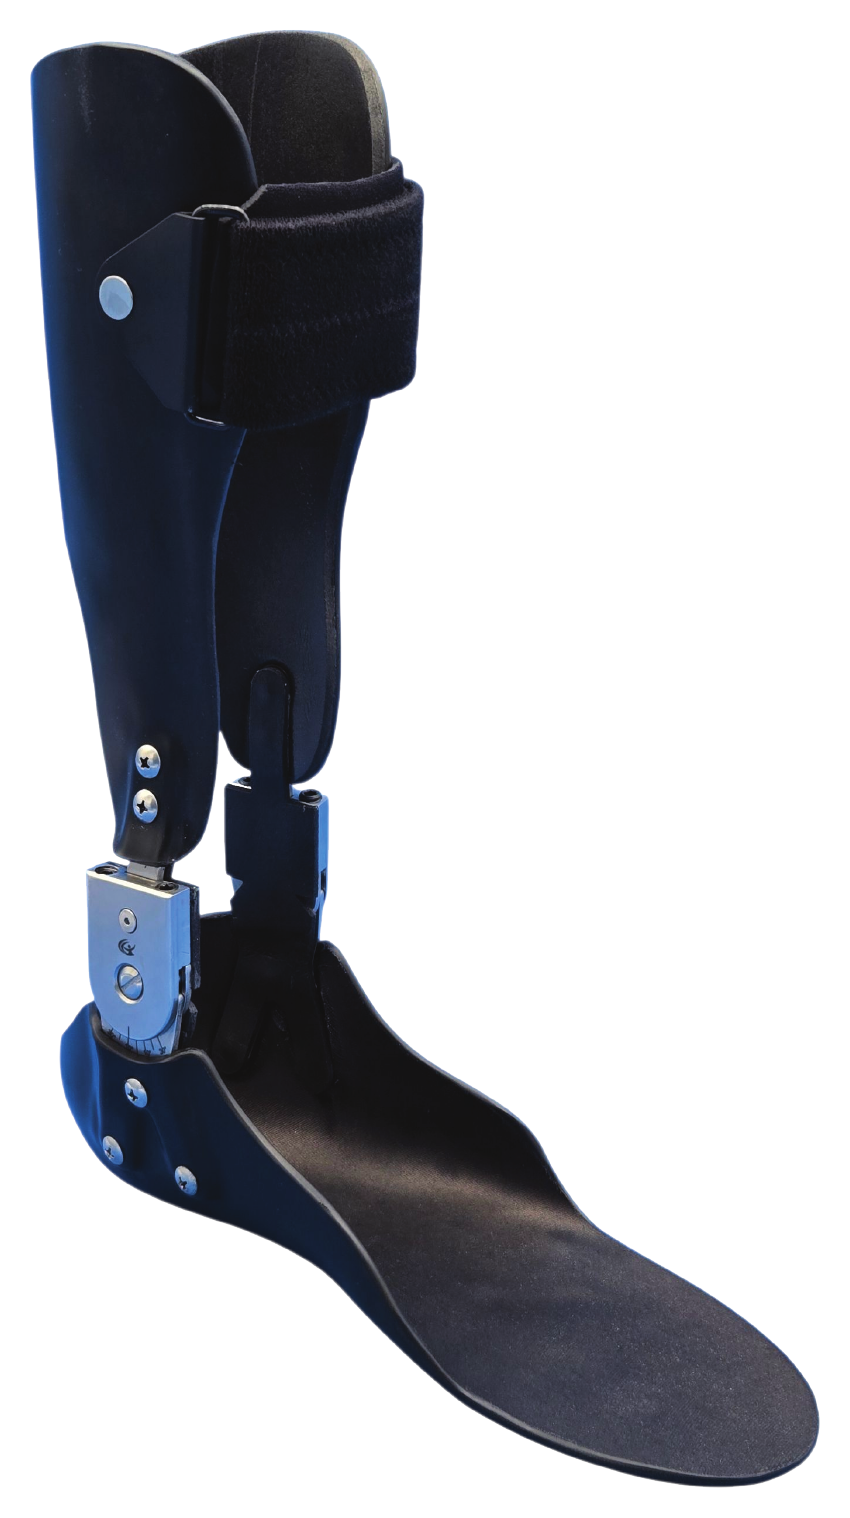
Double Action Thermoplastic Ankle Joint
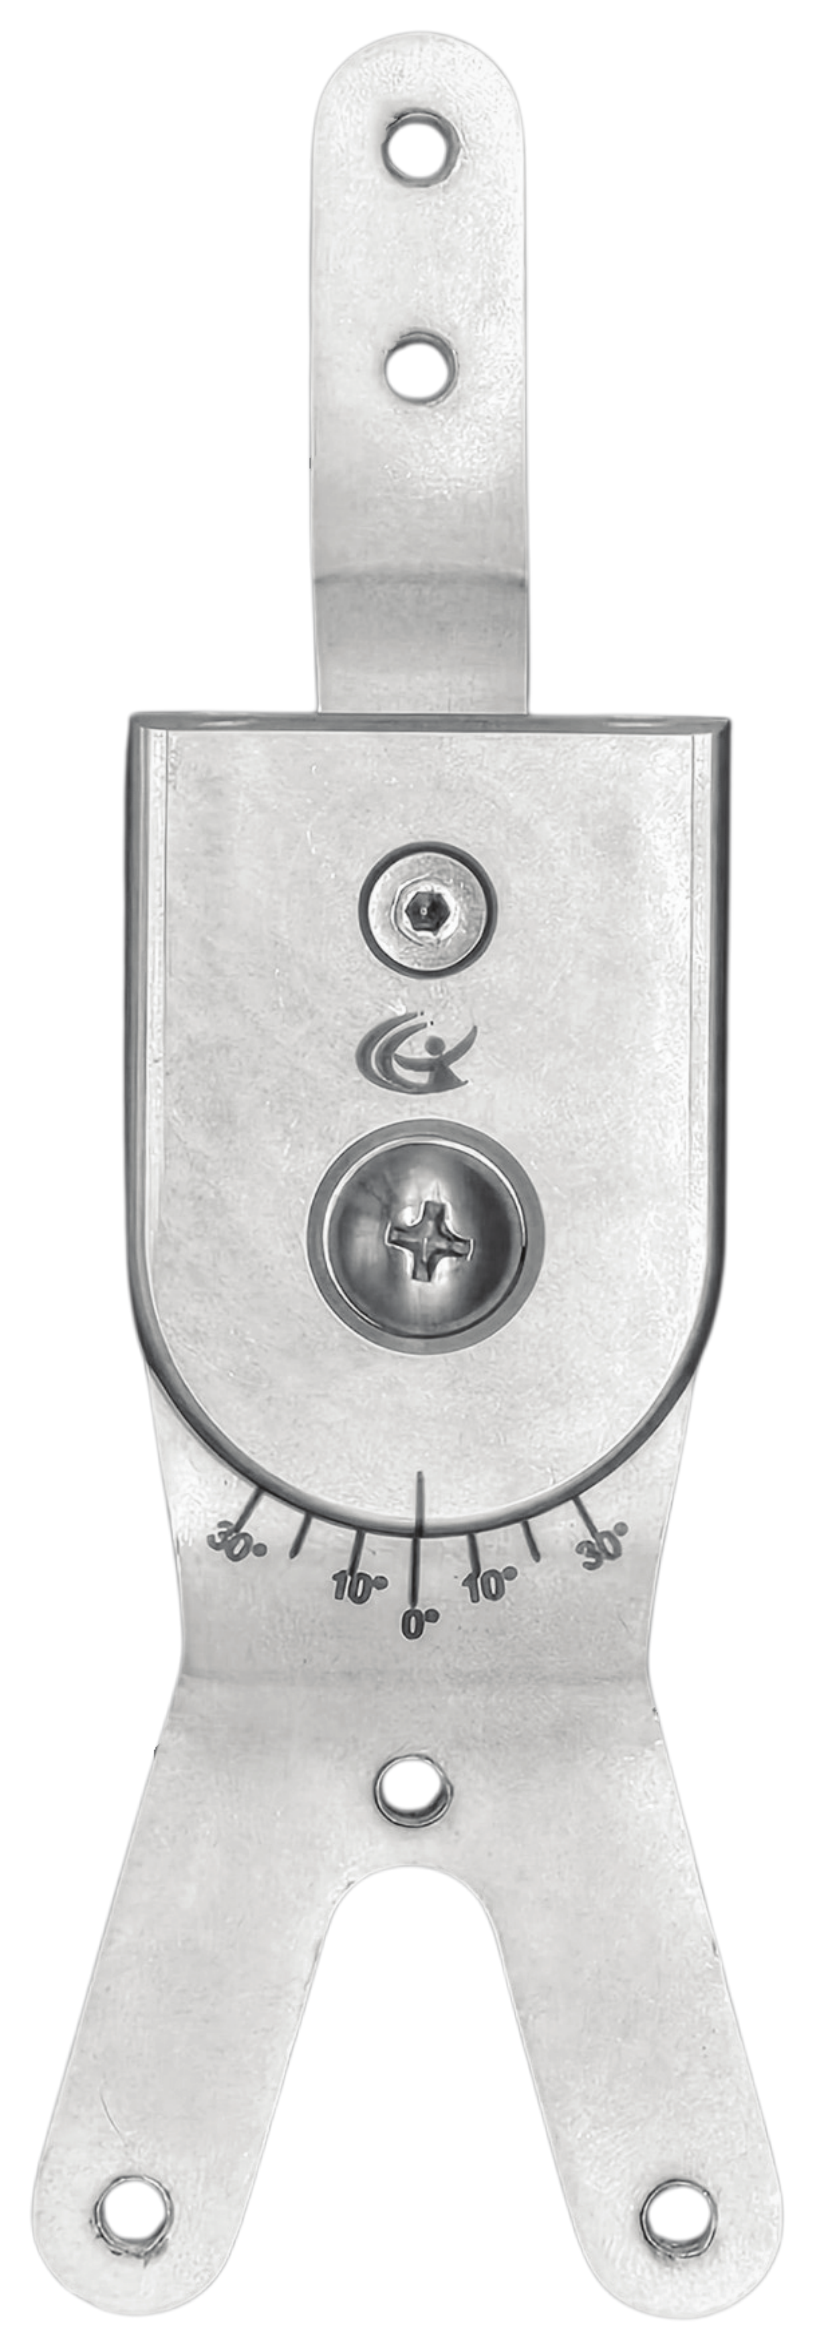
Adult Vertex Double Action
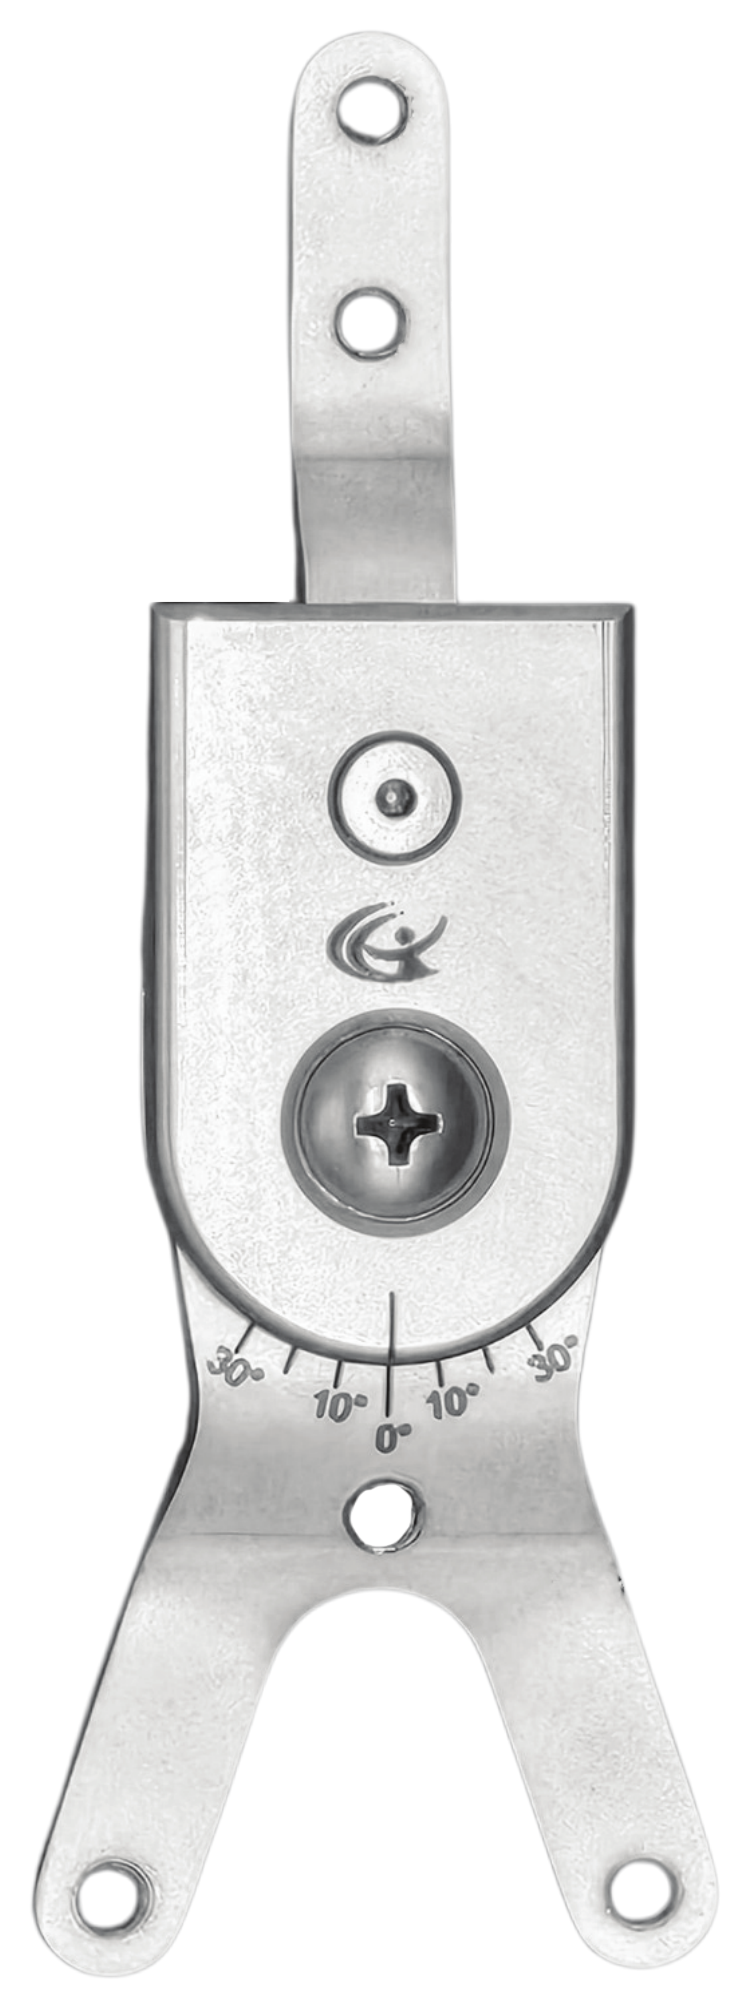
Pediatric Vertex Double Action
FABRICATION INSTRUCTIONS
Vertex Double Action Ankle Joint
Fabrication Instructions for the Vertex Range of Motion Ankle Joint
The Key to the function of the Vertex Double Action Ankle Joints comes from the proper placement and alignment of the joints on the positive mold. Here are some suggestions that can help to achieve this goal.
Prior to applying the casting material care should be taken to mark with an indelible pencil the distal tip of the medial and lateral malleolus, and desired placement of the ankle joint centers.
If you wish to use the threaded positioning rod, this should be applied through the ankle joints center axis prior to filling the negative cast. Proper placement of the rod will help ensure correct alignment of the ankle joints.
The mold is filled with molding plaster.
Modify mold as desired, the threaded rod may be removed during this process.
Apply fabrication spacer pads.
Disassemble ankle joints.
Thread the midsection bushing on both the medial and lateral sides of the threaded rod, tighten the bushings against the spacer pads/positive mold.
Contour proximal and distal bars to mold.
Attach and tighten down ankle joint with the two additional hex nuts.
Remove excess threaded rod.
Prior to vacuum forming, the space between the joints/spacer pads and positive mold should be filled with clay to prevent the plastic from forming completely around the ankle joint.
Vacuum form positive mold.
Mark trim lines and remove from positive mold.
Mark ankle joint centers and cut through the posterior aspect of the plastic through the ankle joints axis. Note: You may want to mark the ankle joints medial or lateral to avoid confusion during the final assembly.
Finish plastic edges.
Reassemble ankle joints.
Mark and drill the proximal and distal attachment holes with appropriate drill bit.
Attach joints into the plastic using the attachment screws provided.
Remember to always use loc-tite on all screws used in final assembly.
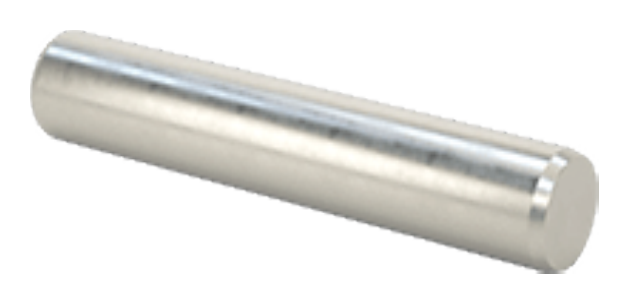
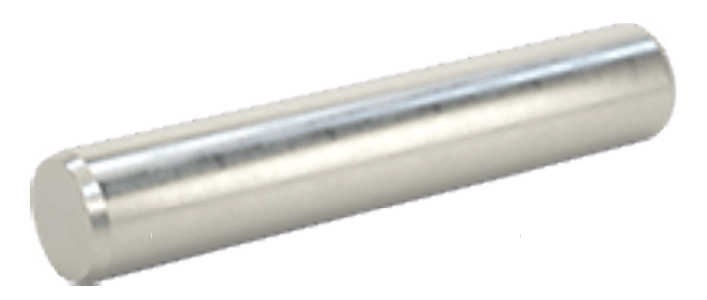
*Pin Stops can be utilized in both channels to completely lock out joint. Pin stops can also be utilized in posterior/anterior channel to block dorsi or plantar flexion
Dorsi-Only Spring and Pin Kit
Product#
Description
Size
Unit
VX-220A-DAS
Vertex Dorsi-Only Spring Kit
Adult
Kit
VX-220P-DAS
Vertex Dorsi-Only Spring Kit
Pediatric
Kit
*The Dorsi-Only spring kit provides a longer spring and pin if dorsi-assist only is desired. The longer spring increases the dorsi angle and provides increased dorsi-assist.